

5 Steps to Clean a Cone Filler for Tabletop and Small Batch Machines
Power off the machine, remove any loose material, then wipe or brush visible residue from the trays and dosing parts using a soft brush and isopropyl alcohol. Dry everything completely, reassemble, and run one test cone before loading a full batch. Tree Lock Box has broken this cone filler cleaning process down for both single-cone tools and multi-cone tabletop machines, so skip straight to the sections below for the parts that need extra care.
TL;DR:
- Proper cleaning requires using the right tools, such as tube brushes and cotton swabs, and avoiding metal pads or bleach that can cause damage.
- Disassemble removable parts and clean metal and plastic components with isopropyl alcohol or mild soap, ensuring complete drying before reassembling.
- Routine cleaning should occur daily for debris removal, weekly for thorough brushing and drying, and monthly for inspecting and lubricating moving parts.
- For consistent operation, check tray alignment, re-calibrate the metering mechanism, and ensure cones seat fully before each fill.
- Store the machine in a dry, covered space with trays slightly open to prevent mold, and keep spare parts like gaskets and brushes on hand for quick replacements.
Table of Contents
- What Tools Do You Need to Clean a Cone Filler?
- How Do You Clean a Cone Filler Step by Step?
- How Do You Clean Cone Filler Attachments and Trays?
- What’s a Good Maintenance Schedule for a Cone Filler?
- Why Are Fills Uneven After Cleaning, and How Do You Store the Machine?
- Tree Lock Box Perspective: What Actually Keeps a Filler Running Clean
- Where to Find Cleaning and Prep Tools Built for the Job
- Sources
- FAQ
What Tools Do You Need to Clean a Cone Filler?
Before you touch a single screw, lay out your supplies. Half the frustration people run into with a cone filler machine comes from stopping mid-clean to hunt for a brush that actually fits the metering slots.
Here’s what to have on hand:
- Gloves and safety glasses
- Soft microfiber cloths
- Soft-bristled brushes and tube brushes sized for metering slots
- Cotton swabs for tight corners
- Isopropyl alcohol, 70–99%
- Mild dish soap for plastic components
- A small vacuum or compressed-air blower
- Towels for drip-drying
- A small container for soaking removable parts
- Food-safe lubricant for mechanical linkages, but only if your manufacturer’s manual allows it
Skip metal scouring pads and bleach entirely. Both can scratch or corrode metering channels, and bleach residue near cannabis product is a hygiene problem you don’t want to solve twice. Never pour alcohol, soapy water, or any liquid into a motor housing. Powered multi-cone units, like the King Kone, are built with sealed motor compartments specifically to keep debris and moisture out, and soaking them defeats that design.
One more rule before you start: unplug the machine. Every cleaning step that follows assumes zero power running through the unit.
How Do You Clean a Cone Filler Step by Step?
Start with the machine unplugged, cones and product cleared from the loading area, and a flat workspace with good light. Then work through the process in order.
- Remove dry debris first. Shake trays over a trash bin or catch container, then vacuum or blow out loose kief and shake. Run a tube brush through each metering slot at a slight angle rather than straight in, which helps dislodge packed material instead of jamming it further down.
- Disassemble the removable parts. Take off trays, tampers, and any conversion inserts one at a time, and set screws or small fasteners into a labeled dish so nothing rolls off the table. If your unit has a manual, this is the step where following it matters most, since fastener order varies by model.
- Wet clean based on the material. Use isopropyl alcohol for metal and anodized aluminum parts with baked-on resin, letting it sit for a minute or two to loosen buildup before wiping. For plastic components, mild soap and warm water works better and won’t degrade the material the way strong solvents can. Simple single-cone fillers are often rated safe for warm water up to about 130°F combined with an alcohol and salt solution for stubborn resin, though anything hotter risks warping plastic tolerances. Swab tight seams with cotton swabs, wiping outward rather than pushing residue deeper toward bearings or hinge points.
- Rinse and dry fully. Air-dry parts on a lint-free towel, and use low-pressure compressed air to clear crevices instead of a hair dryer or heat gun, since most manufacturers cap safe drying temperatures well below household appliance heat. Any dampness left behind before reassembly invites sticking and mold.
- Reassemble and test. Line trays up with their locating pins, snap components back into place, and load one cone as a trial run. Watch for consistent fill weight and a clean tamp. Uneven results here almost always point back to tray alignment or dried residue on the seating faces rather than a mechanical fault.
Pro Tip: Clean your filler right after your session ends, while resin is still soft. A two-minute wipe-down beats a twenty-minute soak once material hardens into the metering slots.
Work in a ventilated space whenever you’re using isopropyl alcohol, and keep it away from open flame. Gloves protect your skin from repeated alcohol exposure, and safety glasses matter if you’re using compressed air near your face.
How Do You Clean Cone Filler Attachments and Trays?
Attachments take more abuse than the main housing because they make direct contact with resin and ground material every single fill.
Stainless steel and anodized aluminum trays handle a full soak in soapy water or diluted alcohol without issue. Rubber gaskets and certain plastic conversion inserts should get a wipe-and-swab treatment instead, since prolonged soaking can cause swelling or clouding over time.
- Run tube brushes through dosing tubes using short, repeated strokes rather than one hard pass, which prevents bending thin bristles out of shape.
- Wipe tamping tools and closers with an alcohol-dampened cloth, since these parts touch paper directly and any leftover residue transfers straight into your next cone.
- Check conversion kit inserts for stuck material along the seams, where paper cones tend to snag if buildup narrows the opening.
Cone geometry and paper quality already affect how smoothly material feeds during filling, and a dirty tray compounds that problem by changing the internal dimensions the cone has to pass through. Keeping trays clean on a routine basis is one of the more reliable ways to cut down on misfeeds and rejects in both home setups and small production runs.
What’s a Good Maintenance Schedule for a Cone Filler?
A little consistency here saves you from ever needing a deep clean. Break it into three simple tiers.
- Daily: Remove loose material after each session, wipe down work surfaces, and glance for visible resin buildup.
- Weekly: Disassemble trays, brush out metering slots, and clean and dry attachments fully.
- Monthly: Inspect moving parts and fasteners, apply manufacturer-approved lubricant to linkages, and swap out worn brushes or gaskets.
Watch for warning signs between scheduled cleans too. A metering mechanism that suddenly feels sticky, any smell of burnt residue, or fills that turn uneven overnight are all signals to stop and do a deeper clean immediately, or call a technician if the issue persists after cleaning.
Why Are Fills Uneven After Cleaning, and How Do You Store the Machine?
If fills come out inconsistent right after you’ve cleaned everything, check three things in order: tray alignment against the locating pins, whether the metering mechanism needs recalibration, and whether cones are seating fully before the fill cycle starts. Hidden residue often hides in seams and corners that look clean but still catch a cone’s edge.

Some parts are worth replacing rather than scrubbing indefinitely. Cracked gaskets, warped plastic inserts, and brushes with bent or missing bristles rarely perform like new no matter how well you clean them.
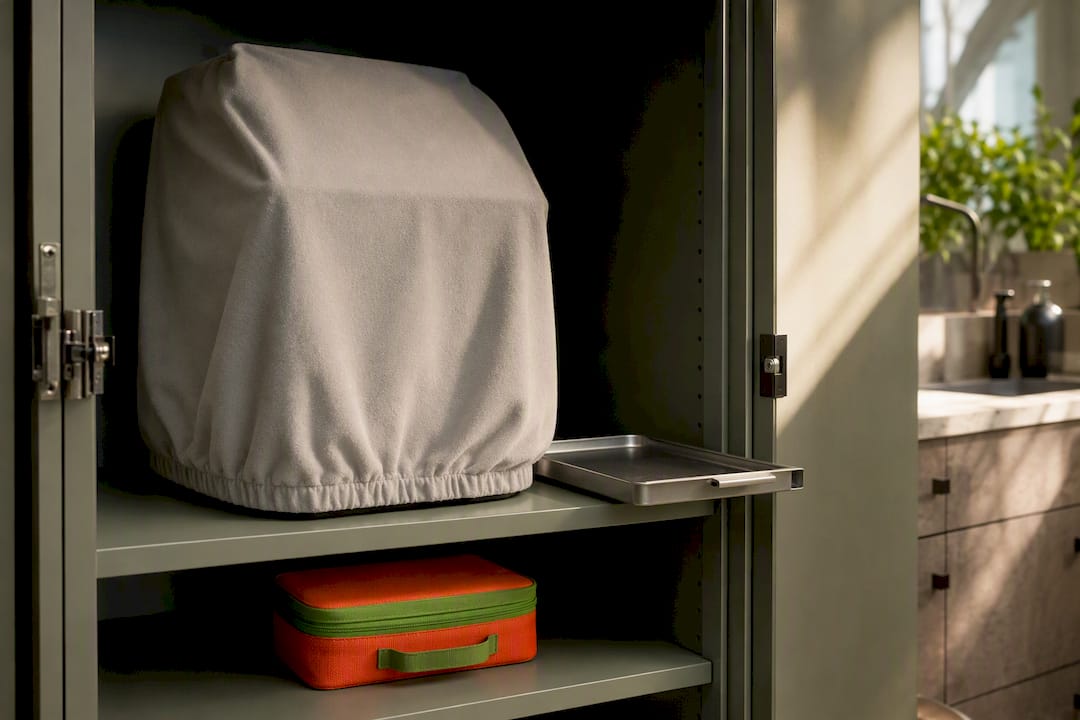
For storage, keep the unit dry and covered, out of direct sunlight, which degrades plastic components over time. Leave trays slightly ajar rather than fully sealed, since trapped moisture is what causes mold and corrosion between uses. An odor-control bag or case helps if you’re storing the machine alongside other prep gear.
Tree Lock Box Perspective: What Actually Keeps a Filler Running Clean
Most cleaning guides treat every cone filler the same, but tabletop single-cone tools and multi-cone tabletop machines wear differently, and Certain companies build and sell prep tools with that difference in mind. If your current filler is aging out, our roundup of cone filler options breaks down which style fits different volumes and cleaning tolerances.
Keep a spare tube brush and a couple of gaskets on hand. Both wear out faster than people expect, and having replacements ready beats pausing a session to order parts. Odor control matters during cleaning too, not just storage. A sealed container for soaking parts keeps smell contained while you work.
Always defer to your specific machine’s manual when it conflicts with general advice here. Manufacturers set temperature and solvent limits for good reason.
— Tree Lock Box
Where to Find Cleaning and Prep Tools Built for the Job
Generic brushes and cloths get the job done, but purpose-built tools make cleaning faster and protect tolerances that matter for consistent fills. Some companies stock prep tools designed around the exact dimensions of metering slots and dosing tubes, so you’re not improvising with a toothbrush that’s slightly too wide. Our herb grinder also cuts down on residue buildup at the source, since a finer, more even grind feeds through a filler with less material sticking to trays in the first place.
If you’re not sure whether to clean a worn part or replace it, our cannabis tools FAQ covers common troubleshooting scenarios in more detail. When you’re ready to restock brushes, gaskets, or a new filler entirely, head to the Treelockbox shop to browse current inventory and get parts moving before your next session.
Sources
For model-specific torque settings or lubrication rules, always check your unit’s manual first. Tree Lock Box’s tools FAQ covers general upkeep, our packing guide explains how cleanliness affects draw, and King Kone’s cleaning walkthrough offers a useful multi-cone comparison point.
- How to Fill Pre-Rolled Cones in Professional Production
- Pre Rolled Cones Rolling Paper Guide | MunchMakers Blog
- 98mm Slim Cone C-ONE Single Cone Filler & Tamping Tool
FAQ
Can I Use Isopropyl Alcohol on All Cone Filler Parts?
Isopropyl alcohol works well on metal and anodized aluminum parts caked with resin, but avoid soaking rubber gaskets or certain plastics in it since prolonged exposure can degrade those materials. Use mild soap and water for plastic components instead.
How Often Should I Deep Clean a Cone Filling Machine?
Weekly disassembly and brushing keeps most machines running smoothly, with a lighter daily wipe-down after each use. A full deep clean with soaking is usually only needed monthly or when you notice sticky metering or uneven fills.
Is It Safe to Submerge Cone Filler Trays in Water?
Stainless steel and anodized aluminum trays can typically handle a soak in warm water up to roughly 130°F, but check your manual first since some plastic inserts warp at lower temperatures. Never submerge motorized components or electrical housings under any circumstances.
What Causes Uneven Fills After Cleaning a Cone Filler?
Uneven fills after cleaning usually trace back to tray misalignment against locating pins, leftover residue on seating faces, or a metering mechanism that needs recalibration. Running a single test cone after reassembly catches most of these issues before a full batch.
Where Can I Buy Replacement Brushes or Parts for a Cone Filler?
Tree Lock Box carries prep tools sized for common metering slots and dosing tubes, available through the shop page alongside grinders and other cannabis accessories built for cleaning and upkeep.